Once upon a time I bought a used stereo off of the Internet. New ones in the store weren't compelling enough because of the bland display, small speakers, wimpy nonsense. Old ones had brightly colored lights and moving graphics and three hundred watts. I am not naming names but whomsoever shipped the stereo would get bad feedback because it wasn't packed well and she send it snail mail. The package was dropped off onto my doorstep eventually. The speakers were good and the stereo worked a little except for the volume control. To find and remove the broken part, I had to remove most of the innards.
Do It Yourself Kit

The circuit boards were cracked, and the volume control didn't work anymore. Here is the replacement volume control component. To gain access to this part, the stereo had to be completely disassembled. On the bright side, the broken plastic mounting bosses fell away easily and the broken circuit boards were easily repaired.
White arrow points to a mounting boss. Red arrow points to broken mounting boss that will be glued in to the empty space shown by the green arrow. Lots of five minute epoxy was used in this step. All of the switches on the circuit boards must align with the silver colored pushbutton item shown, so the mounting bosses have to be glued in just right.
After careful re-assembly, the stereo worked! Volume control knob made from soda straw and epoxy glue was the only clue that a repair job has been finished.
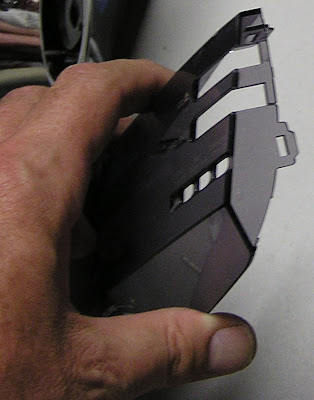
All the pushbuttons worked, after some minor re-shaping of the faceplate in this area.
The old volume control part and the knob were glued together, hence the need for a little slicing in order to disassemble the unit enough to remove the broken part. Then it became necessary to fabricate a duplicate of the part that had been removed. A small piece of Plastruct® tubing had the right interior diameter of one quarter inch or six mm. The tubing replaces a part of the volume control knob.
The hard plastic tubing was glued onto the knob, and a small patch of glue inside the tubing makes the D-shape that mates with the new volume control part.
As a result I then had a nice 400 watt stereo with bright flashing lights on the front. So I was not really angry about the poor service. The remote works too.
Here is how the re-constructed volume control knob fits together with the new volume control component. After re-assembly and testing these items will be glued together so that the volume knob becomes a permanent part of the stereo. In retrospect it would have been wiser to put this together first, then affix the volume control component to the circuit board. The alignment of the knob and everything came out okay by luck on this project.
fin.


No comments:
Post a Comment
Moderated comments should be rated PG.